Testing with Postman
The following guide will go over the process of testing backend APIs with Postman. These APIs are automatically exposed via our backend SDK (/auth/* path).
important
- Make sure that the EmailPassword Recipe is correctly setup in your backend
- For the examples given below we will be running our backend on domain
localhostand port3001 - The Open API spec for the APIs being tested can be found here.
- Postman does cookie management on its own. So you don't need to manually set cookies on each request.
1. Signup#
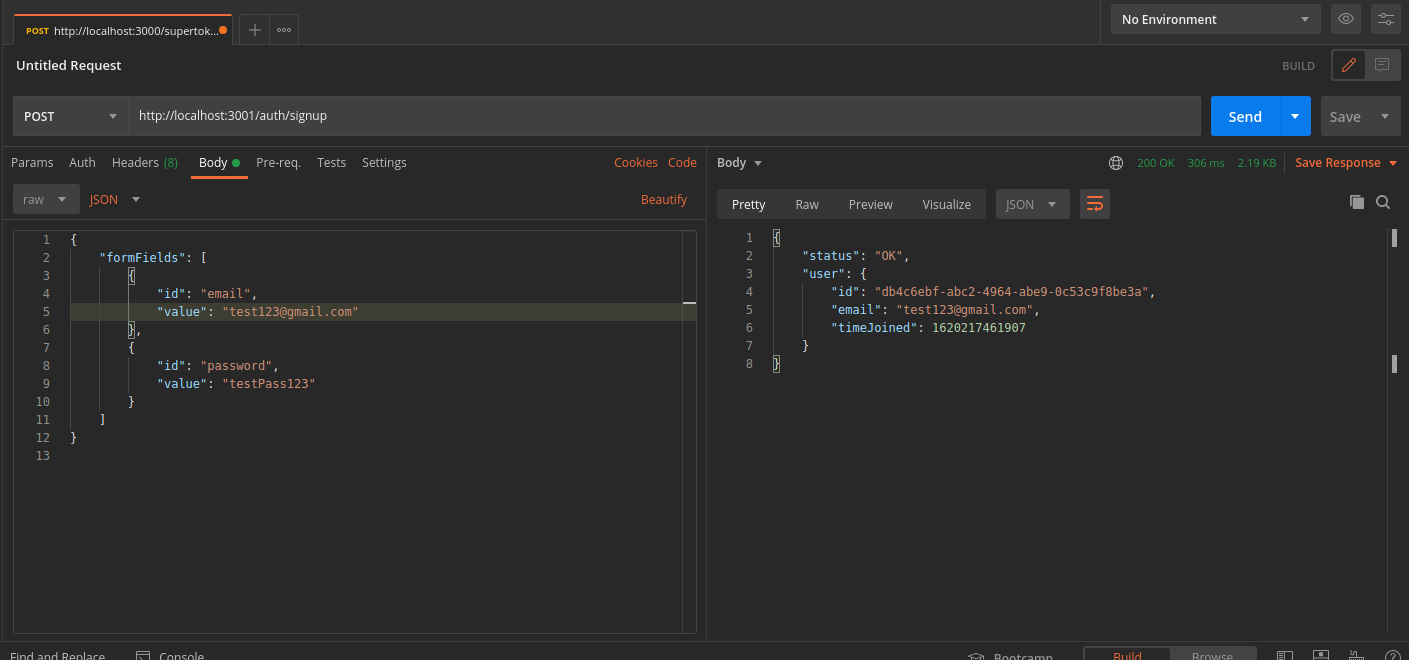
We will test the /auth/signup API by creating a user with an email as test123@gmail.com and password as testPass123.
In Postman, set the request type to
POST. Set the body of the request to beraw JSON.Set the URL to
http://localhost:3001/auth/signupIn the Header tab, set key
ridwith valueemailpassword.Add the request JSON object to the body tab as shown in the image below
On a successful request, a new user session will be created, with the
userobject and session tokens being returned in the response.
You can see the session tokens set by the response by switching to the cookies tab
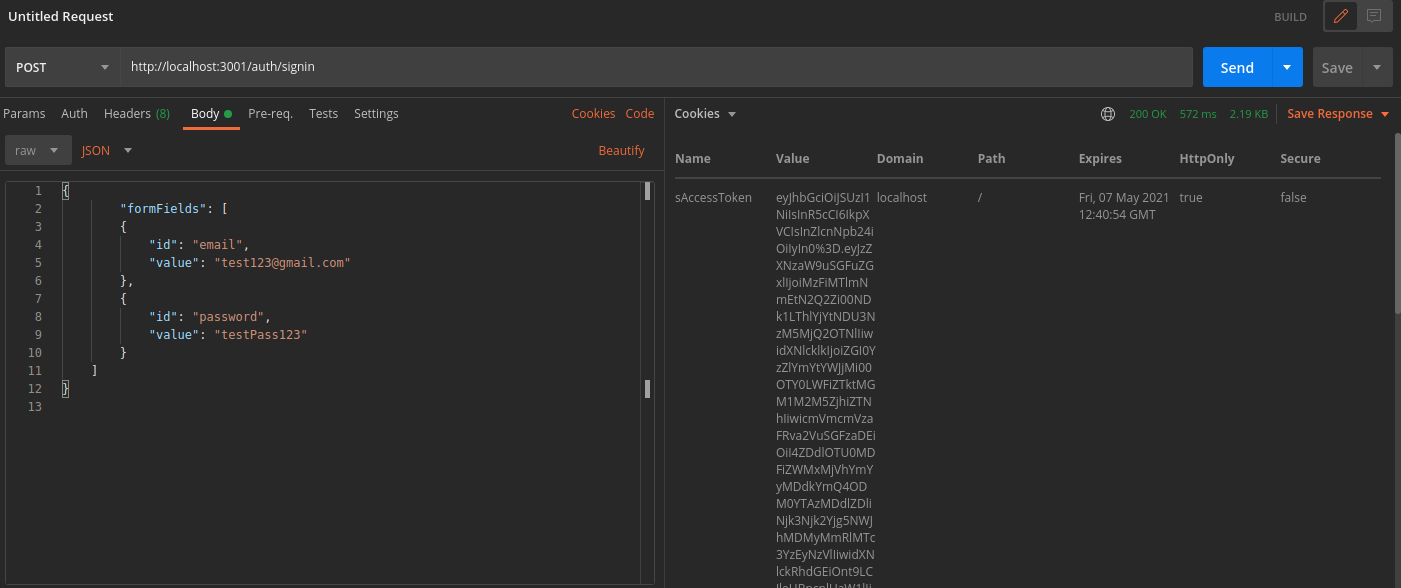
These cookies are:
sIdRefreshTokensAccessTokensRefreshToken
More information about these cookies can be found here
2. Session Verification#
We can also test APIs which require the user to be logged in.
For example, we have an API used to query user data with the
verifySessionmiddleware as shown below
- NodeJS
- GoLang
- Python
// The following code snippet is an example API. You do not need to // implement it in your appimport express from "express";import { verifySession } from "supertokens-node/recipe/session/framework/express";import { SessionRequest } from "supertokens-node/framework/express";
let app = express();
app.post("/change-user-data", verifySession(), async (req: SessionRequest, res) => { let userId = req.session!.getUserId(); // mutate some user data res.send({ userId })})// The following code snippet is an example API. You do not need to // implement it in your app
import ( "encoding/json" "net/http"
"github.com/supertokens/supertokens-golang/recipe/session" "github.com/supertokens/supertokens-golang/supertokens")
func main() { http.ListenAndServe(":3001", supertokens.Middleware(http.HandlerFunc(func(rw http.ResponseWriter, r *http.Request) { // Handle your APIs..
if r.URL.Path == "/change-user-data" { session.VerifySession(nil, func(w http.ResponseWriter, r *http.Request) { sessionContainer := session.GetSessionFromRequestContext(r.Context())
w.WriteHeader(200) w.Header().Add("content-type", "application/json") bytes, err := json.Marshal(map[string]interface{}{ "userId": sessionContainer.GetUserID(), }) if err != nil { w.WriteHeader(500) w.Write([]byte("error in converting to json")) } else { w.Write(bytes) }
}).ServeHTTP(rw, r) return } })))}
# The following code snippet is an example API (fastapi). You do not need to # implement it in your app
from supertokens_python.recipe.session.framework.fastapi import verify_sessionfrom supertokens_python.recipe.session import SessionContainerfrom fastapi import Depends
@app.post('/change-user-data') async def change_user_data(session: SessionContainer = Depends(verify_session())): _ = session.get_user_id() # mutate some user data # send response- In Postman, set the request type to
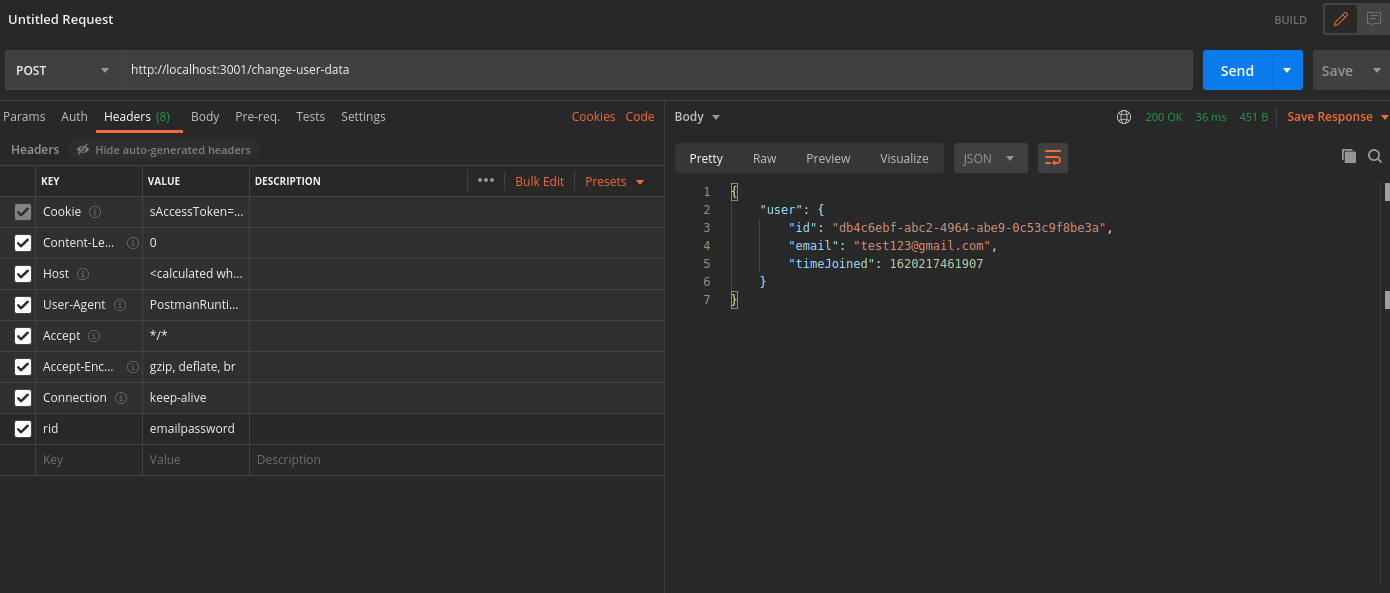
POST. - Set the URL to
http://localhost:3001/change-user-data - In the Header tab, set key
ridwith valueemailpassword. - If you have the
antiCsrfattribute set toVIA_TOKENin your backend SuperTokens config, then, in the Postman Header tab, set the key asanti-csrfand value as theanti-csrftoken retrieved from the login response. - On a successful response, the response body will contain user data
important
By default, for GET APIs, you don't need to provide the anti-csrf request header as anti-CSRF checks are only done in non-GET APIs
In case you query the /change-user-data API with an expired access token, you will get a 401 response with the message try refresh token.
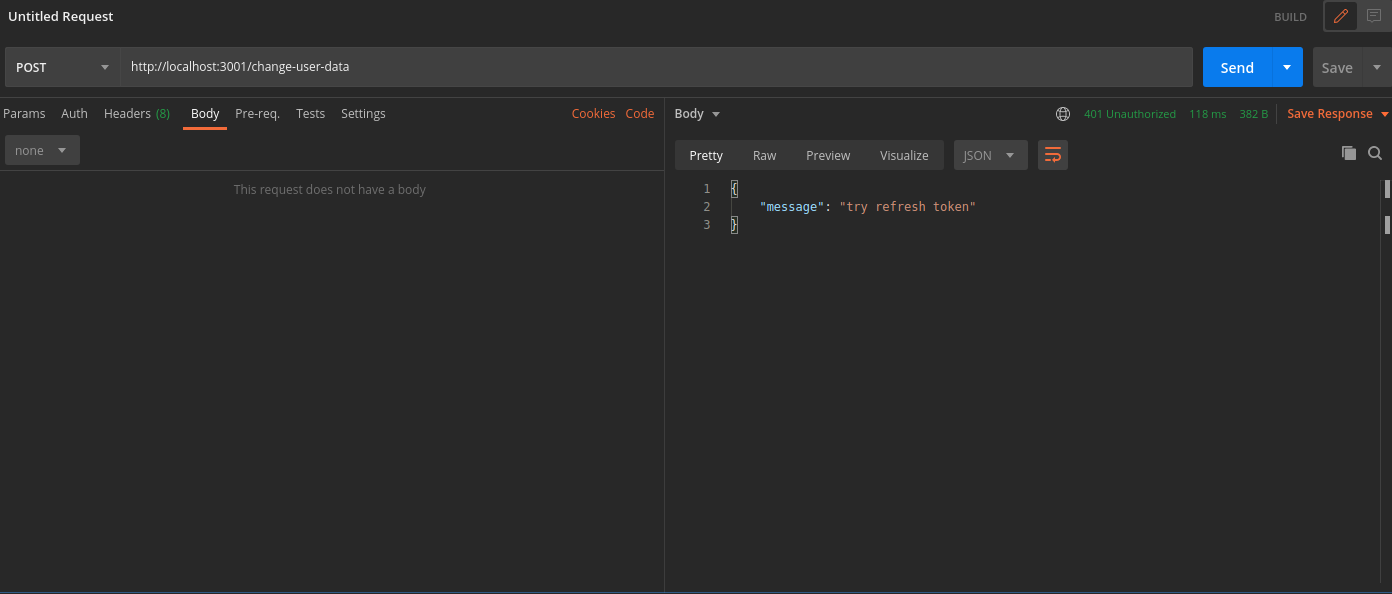
To generate new session tokens you can use the /auth/session/refresh API as shown in the next section.
3. Refreshing Session Tokens#
In case your access token expires you can call the /auth/session/refresh api to generate a new access token and refresh token.
- In Postman, set the request type to
POST. - Set the URL as
http://localhost:3001/auth/session/refresh - In the Header tab, set key
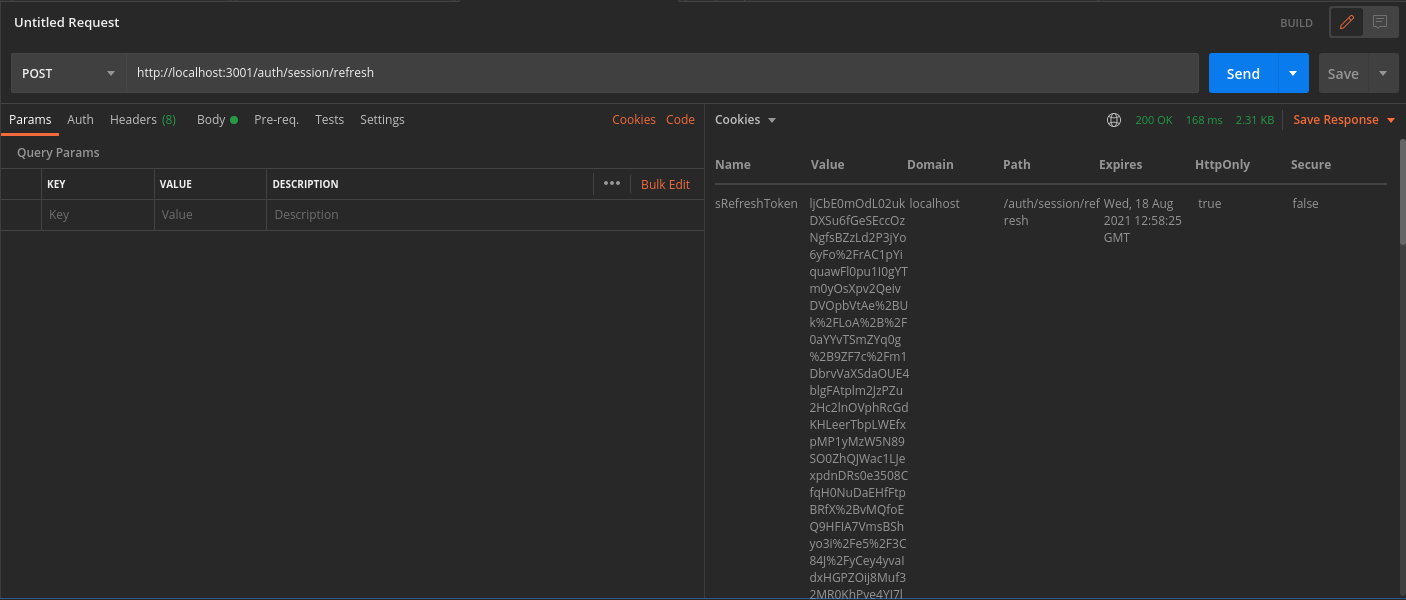
ridwith valuesession. - On a successful response, new session tokens will be set
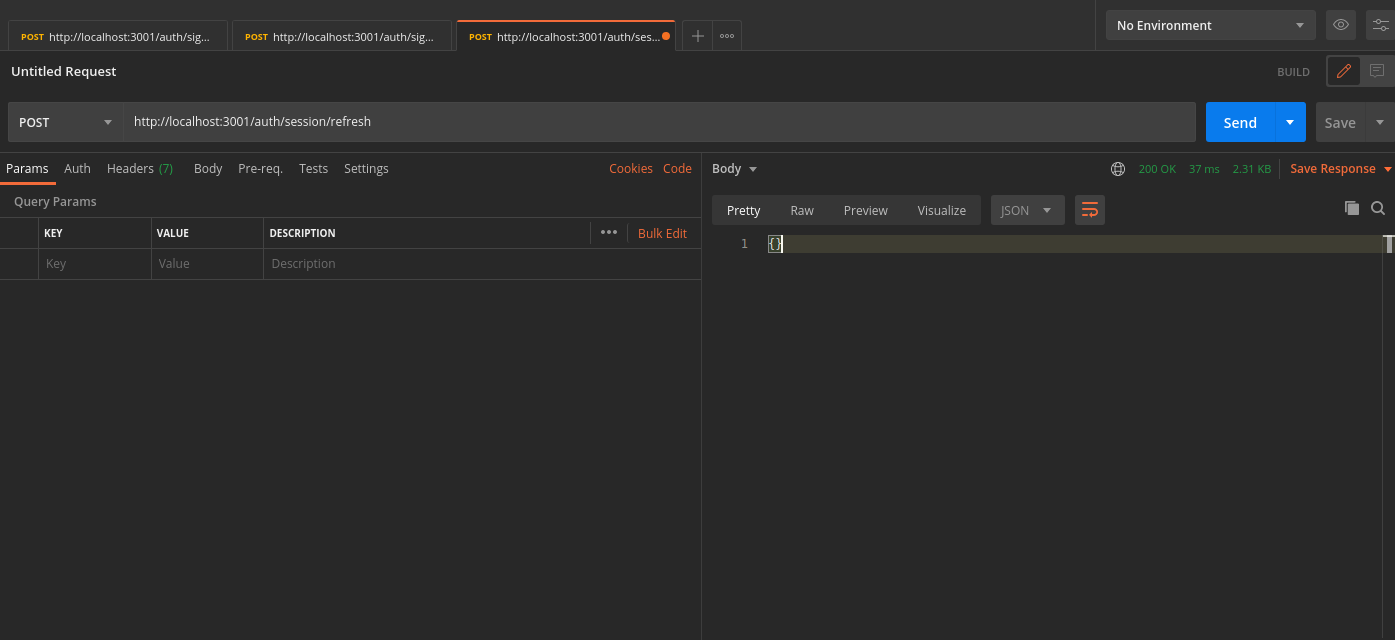
You can see the new session tokens by switching to the cookies tab
4. Logout#
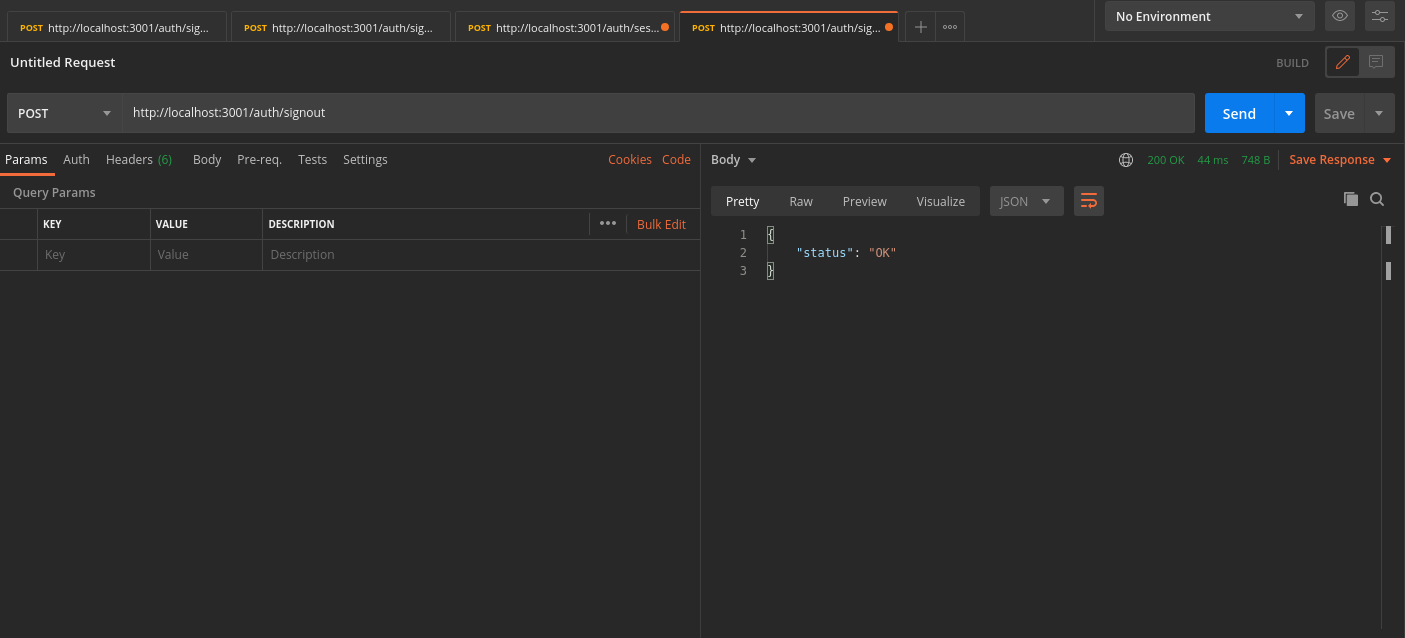
The /auth/signout API will be used to invalidate the user sessions. This will clear the session cookies set in postman.
- In Postman, set the request type to
POST. - Set the URL as
http://localhost:3001/auth/signout - In the Header tab, set key
ridwith valuesession. - On a successful response, the session tokens will be cleared from Postman, and from the database
 supertokens-auth-react